Showing posts with label Allotment. Show all posts

Potatoes and Black Plastic

For all of last year (and a fair bit of the year before as well) I have been fighting an uphill battle against the weeds on my plot, specifically the grass.

I have regularly spent upwards of five hours strimming, raking and clearing the grass only for it to spring back to three feet deep almost overnight.

Last year my time on the plot was mostly limited to Saturdays as I look after my 2 year old grandson Jack on Sundays, so time spent cutting the grass was time I really couldn't afford to lose. I am determined to make be more organised this year, so I have invested in another roll of thick weed fabric and used it to cover the areas on my plot that I haven't managed to get around to as yet. I am hoping that this will effectively smother the majority of the weeds and grass, giving me more hours to spend on the rest.

Purple Sprouting
January King Cabbages under netting
I have covered just under a quarter of my plot with the weed fabric
which will give me some much needed breathing space to get the beds weeded, composted and ready for planting. Despite the new season being upon us, there are still a few crops still in the ground from last year.

I still have four or five purple sprouting broccoli, and about the same
January King cabbages. The leeks from last year are also still looking ok, but I won't know until I pull them if the stems are still firm all the way through.

Last few Parsnips
There are also a few parsnips still waiting to be lifted, but as they store much better in the ground I will be
leaving them there until they are needed for a specific meal.

Leeks nearly ready for harvest
This growing season has well and truly started with garlic and Snowball onion sets being planted into one bed. I don't plant my onions out to over winter as the first time I tried that I lost over 80% of them, so instead I use a modular seed tray and put each bulb into its own section along with some compost and water them in well. Once their leaves have reached 4-6 inches I them transplant them into their final positions in the beds.

I recently went to a Potato Day at the Hulme Community Garden Centre where they had upwards of 40 different varieties of seed potato for sale.


First and Second Earlies
This year I decided to play it safe and went for varieties that I have had before and gotten good results from, plus a couple of new ones. I have gone for six varieties again this year. I chose two First Earlies (Pentland Javelin and Colleen), one Second Early (Bambino), one Early Maincrop (Mary's Rose) and two Maincrops (Sarpo Mira and Pink Fir Apple).

Maincrops
The newcomers amongst all these are Colleen and Mary's Rose. All the potatoes are chitting away in egg boxes in the polytunnel and should be ready for planting by the end of March. In the past I have planted both into the ground and also into buckets with varying success, and this year I have decided that the majority of my potatoes will be planted into buckets, bags and other containers.

This is because I have a limited number of beds for veg, and by taking up three or four of them with potatoes I am really limiting my available planting space for other crops. Also, I can place the buckets on the black weed fabric that I have just set out so I will effectively be utilising more of my plot, and I can space them more widely that I could within a bed as that caused a bit of a problem last time due to the foliage overlapping adjacent pots making it difficult for them to be watered as much as they needed.

The New Season Starts Here

I have spent quite a few hours over the winter trying to decide what to grow on the allotment this coming season.

Like many gardeners, over the last couple of years I have built up a quite impressive collection of different seeds from many places.

Some of these, like the Purple Topped Milan Turnips, will never get planted as neither I nor my wife like them.

Others like Asparagus Pea have been planted once but we didn't like the taste.

Yet more are in the sad situation of being either too far past their use-by date to be worth trying again.

The final lot of seeds destined never to be sown on my allotment are those that are OK, but are not my favoured variety - a good example being the Purple Climbing French Beans that I grew last year.  Perfectly good in their own right, but not as nice on the plate (in my opinion) as Cobra or Blue Lake.

I store my seeds in three large plastic boxes that used to hold mushrooms, and each box is split into three sections.

The seeds are split into the following sections - Brassicas, Herbs, Legumes, Leaf Crops, Cucurbits, Root Crops, Tomatoes and Chillis, Alliums and Others.

After discarding the out-of-date seeds and those that I won't be using for the reasons listed above, I still have over 150 varieties including 20 types of tomato, 11 chilli peppers, 9 lettuce, 6 courgettes and 5 types of cauliflowers including purple and romanescue.

Obviously I won't be able to grow all of these, but until the sowing time arrives I am holding back on choosing one variety over another.

Last summer I had been asked to help judge the local Housing Association Garden competition, and I received £50-worth of garden vouchers as a 'thank you', so I decided to make good use of them and purchase a few propagators and seed trays so that I was able to start my seed sowing tonight.

I chose 10 tomato varieties (last year I didn't get a single tomato, so I am determined to do better this year).  I wanted lots of variety so I planted a couple of cherry tomatoes, a couple of large beefsteak type, some plum (standard and baby) and then some unusual varieties like Green Zebra and Orange Banana.

Broad Beans were fairly easy as I only had two varieties, Crimson Flowering and Bunyard's Exhibition, so I sowed a dozen of each.

Last year I got a few packets from Seeds of Italy which I was very happy with, so I also sowed a few cells with Lettuce Bisca Rossa which had provided us with several nice salads over summer.

I am also trying some shallots from seed this year, the variety is Zebrune, and so I sowed 21 into individual cells.  I normally use sets, but wanted a bit of a challenge this year :)

I have put the mini propagators on the box room windowsill to germinate - hopefully I will start to see some life within the next week.


Mid Season Planting

The current weather has been brilliant for our crops, but unfortunately it has also been equally as good for the weeds.

Flag Iris looking good
As the weeds have grown where they wanted to, and not where we have placed them then they have an obvious advantage over our crops.

Sad reminder that nature tends to win
The natural cycle of things also cannot be stopped.  Earlier this year I planted out some swede seedlings that I had bought at the end of last season but didn't manage to get into the ground until March.  This weekend I had to admit defeat - every single swede had bolted and was producing yellow flowers which meant that they would never bulk up to produce a crop, so they all had tocome out.

I replaced them with six seedlings of cabbage 'Primo' that I had picked up at the plant sale at the Uppermill Museum a couple of weeks back, and they have joined the three surviving Brussel Sprout plants that were already in the bed.  As you can see from the picture above, one is doing really well but the other two have suffered with the slugs and are really weak.  I hope that they survive as it is a bit late to start more from seed.

On a more positive note, the white onions, shallots and Japanese onions that were planted out in April are, on the whole, doing well.

There have been a couple of casualties but I am pleased that I decided not to over-winter these.

The raspberry bed is filling out really well, and has been covered with white flowers over the past two weeks.


Now the bees from the Apiary have done their work lots of the canes are dripping with ripening fruit.


Last year some of the canes seemed to be either Tayberries or some other variant, this year I will try to look after the canes a bit better and actually cut them back after I have harvested the fruit


Grape growing wild!


The grape vine that I was given at the end of last season is doing well.  At one point I was afraid that it was dead, but just look at it now!


There are even several bunches of mini-grapes forming.

On the Beechgrove Garden TV program this Sunday they recommend pruning back the vines to one leaf past the grapes and each sideshoot to one leaf past the main stem.

I will give that a try over the next week


The strawberry beds are doing well with mostly green fruit as yet, but the ones I spaced out and planted through weed fabric look to be the easiest to harvest and best for less weeds and control of runners - if it works well I might re-plant the whole strawberry bed after the summer.


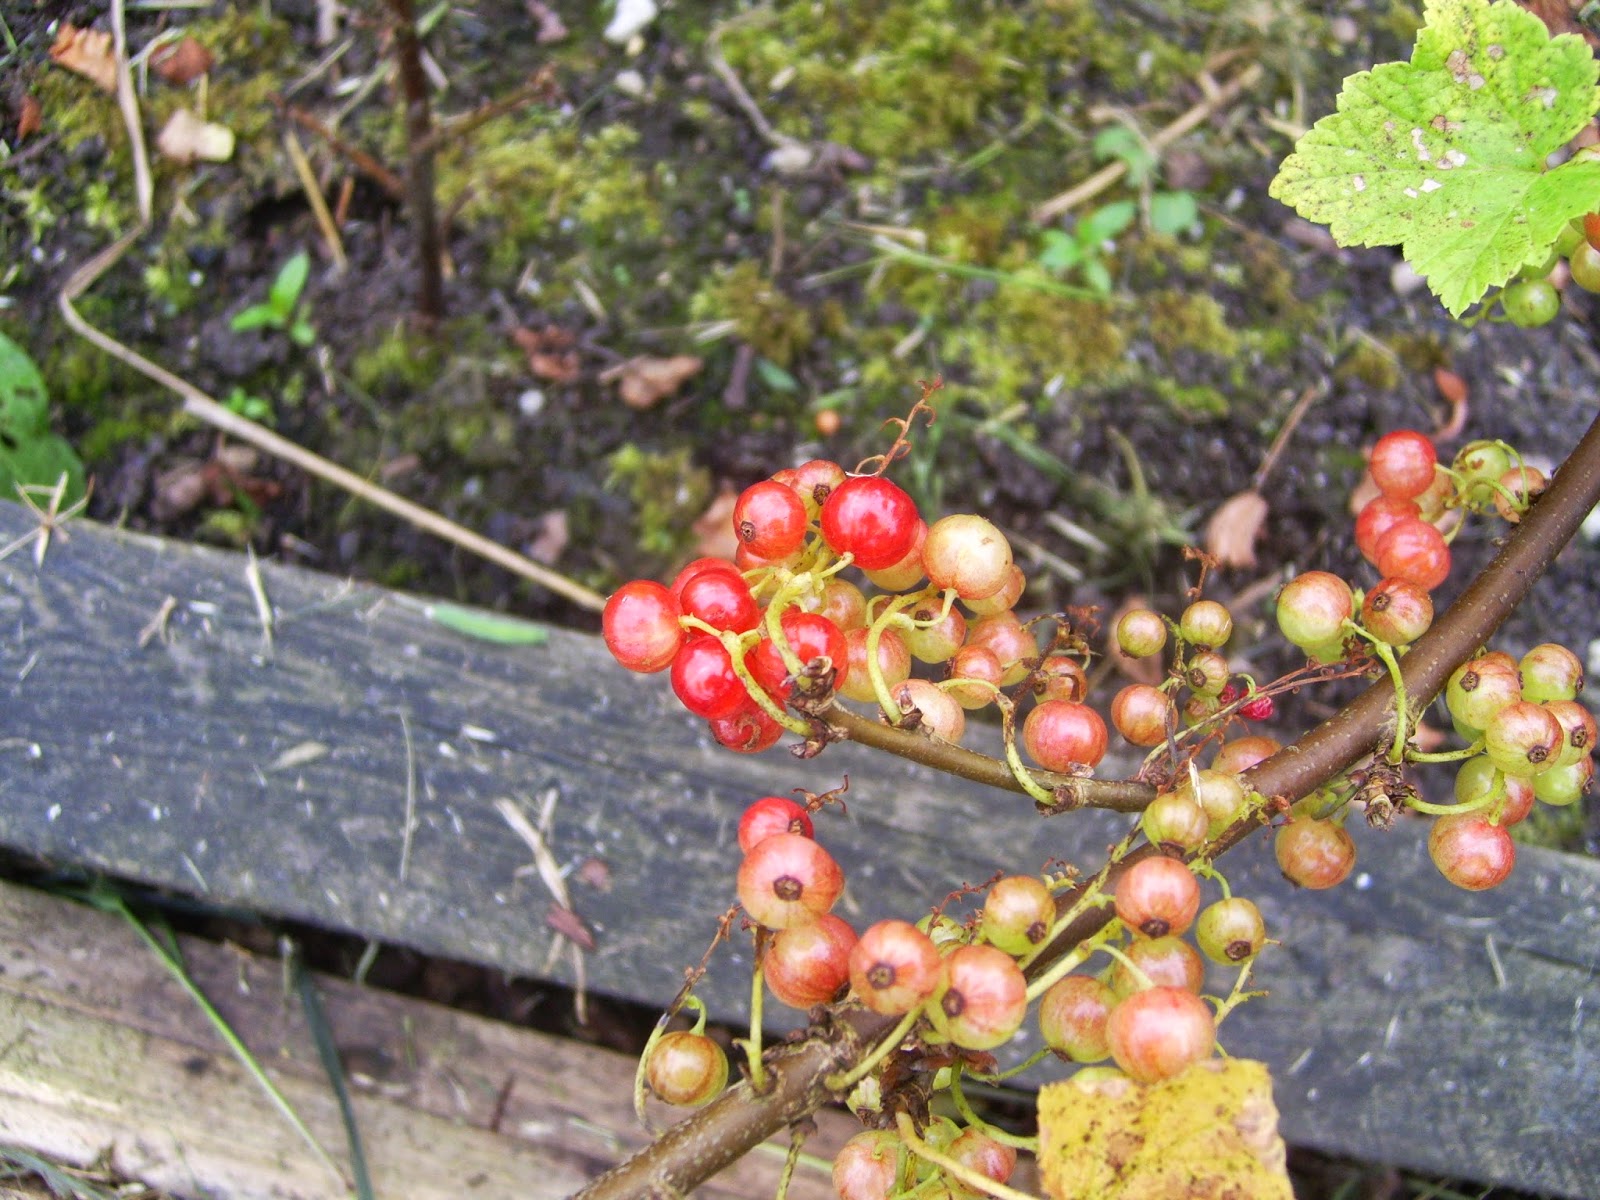
The current and gooseberry bed is looking very lush and green, but the currant plant nearest the camera has absolutely no fruit what so ever!

The leaves are different to the other currants on the plot, so I will have to wait until I get some fruit before I can identify it properly.

Waiting for a space


On my table I have loads of broad beans and peas just waiting for a space to become ready in one of the beds.

There are also a few brassicas that were originally in the poly tunnel but were attacked by a slug.  Hopefully they can recover enough to be planted out.


Cucumbers, Squash, Basil and Chives


On the stand on the decking I have got a few strawberries that were rescued after a communal tidy day a few weeks back.

They have been joined by a few  Crystal Lemon Cucumbers, Hawk Squash, Purple Basil and a pot of Chives.


Add caption


In my original square foot garden bed there are two perpetual spinach and a chard that have gone wild, and are now far too big for the bed.

I will take them out and plant up some new seedlings as they take next to no time to grow and I will try to keep on top of picking the leaves so they don't get out of hand so easily again.


Walking Onion bulbils


My walking onion (Egyptian Tree Onion) is thriving - there are loads of bulbils forming on the top of their leaves, the bulbils, leaves and bulbs are all edible, but I am leaving it to grow as it is a perennial.

Most of the long stems have been broken by something - not sure what but I hope it wasn't me.


This year I have three beds of potatoes in the ground, the varieties I am growing are Maris Peer and Red Duke of York (1st earlies), Cara and Sarpo Mira (2nd earlies) and Pink Fir Apple and Orla (Maincrop).


White Currant


Last year I was given a couple of currant bushes, one red and one white, which I stuck into either end of a bed just to give them a temporary home.

Both bushes have taken, and I am very happy to have them absolutely dripping with fruit.


Red Currant
The redcurrant bush was so large that I had to clip it down quite a lot to get it in the back of the car.

Rather than throw these clippings away I stuck them in the ground around the bush.

Every single one survived and grew on, so I will have loads of redcurrants for my wine making later this year.


Compost pile


Last year I had been using two dalek compost bins, but the amount of green waste I was producing soon filled these and more.

I was fortunate to be given a few pallets by another plotholder which I screwed together to make a compost baywhich as you can see is also nearly full already.


Bee Update

Before I get into this post, let me make a promise to all my readers (yes, all two of you! :))

This is not going to become a bee-dominated blog.

I still intend on keeping this a general allotment/veg growing blog, but it's just that at the moment a lot of our time has been spent on the bees, so it is only natural that the blog updates will reflect that.

Preparing to open the hive
 Last night was an important stage in our beekeeping journey as it was the first inspection of the swarm since they had been put in the hive.

We had hoped to do this on day 7, but the weather was against us with heavy rain and even thunderstorms so it wasn't until day 10 that the conditions were good enough to open the box.

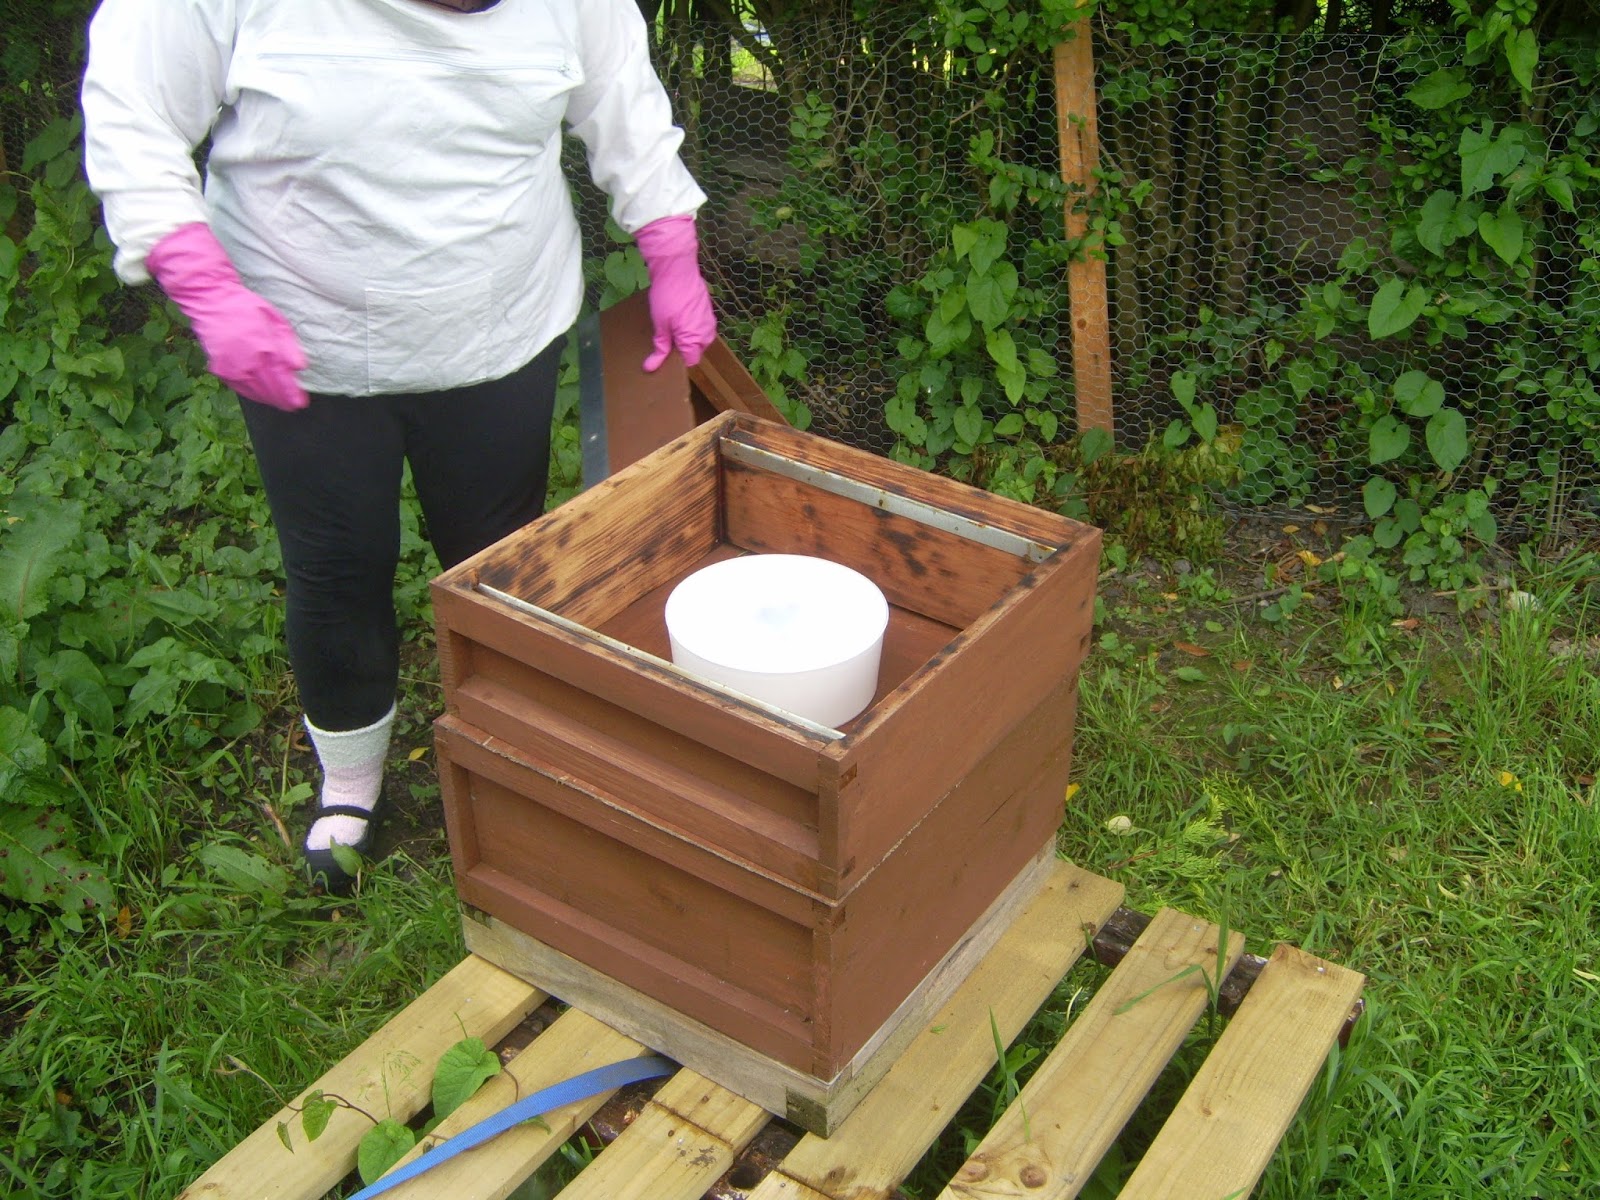
Removing the empty feeder
The sugar syrup which we had given them on day 3 was virtually all gone which was a good first sign that we should see some decent comb production.


First sight of the bees

The crown board was lifted and put to one side and we got our first sighting of the bees.

They had clustered around frames 3, 4 and 5 and looked quite busy.

Starting the inspection
 The inspection had three aims.

Firstly to make sure that the bees were still in the hive and were making comb.

Additional comb made due to wonky foundation
It was obvious from the first frame that Angela lifted that comb was being made.  The large lump of comb you can see on the picture above, and what you will see on subsequent pictures is not a problem with the bees but a problem with the bee keepers.

The frames we used had been stored over winter and had also been bashed around a bit when we had tried to catch a swarm the previous year, and as a result the wax foundation which the bees use to build the comb upon was no longer straight.

Bees will fill any space bigger than 6-9mm with comb, so all they are doing is correcting our mistake.

Checking for stores
 The second goal of the inspection was to check that the bees were laying down stores of pollen and nectar.

Several of the cells had been filled with a reddish pollen, but there wasn't much evidence of nectar as yet, but as this was a very new swarm it's not too much of a concern at the moment.

Looking for the Queen
 The third and most important part of the inspection was to look for evidence of the Queen.

More strange comb
 We were looking for signs that the Queen was laying eggs, but if we managed to see her as well that would have been a bonus.

Still no sign of the queen
Unfortunately we didn't spot her, nor could we see any evidence of her laying eggs in any of the empty cells.

Although this was a bit of a set back there could be a few explanations - the Queen could be a virgin Queen who has yet to be mated - as long as she rises to mate before she is 41 days old there will be no problems, and as we have only had the swarm for 10 days we have about 3-4 weeks of that timescale left.

The Queen might be laying on the underside of some of the strange comb formations.

We might have accidentally killed the Queen during the capture of the swarm, or she may have died during the last week.

This is the worst case, but the bees were so docile during the inspection that we felt this to be unlikely.

If we did have no Queen we would then be reliant upon Diane having a spare frame from one of her hives which had brood on.

This frame would be put into our hive, and the workers, recognising that there was no queen present, would select one of the developing brood and extend the cell to make it a queen cell and create their own new Queen.
Adding more syrup
At this point there was no need to keep the hive open any longer so the feeder was put back on top and the bees were given another feed of sugar syrup.

This should be the last time we will need to feed them as they have started to forage for themselves so should now become self sufficient.

We will inspect the hive again this weekend to see if there is any change, and hopefully we will start to see some brood cells which will indicate that the Queen is present and laying.

I'm back!!


Wow.

Has it really been a whole year since I updated this blog?

Apologies for that, but life has become an awful lot busier as I became a Grandad which has taken up so much more time than I could have ever imagined that it would.

Anyway, back to business.

I still have my allotment, and it is slowly being brought back under control after being mostly neglected over the winter, there are crops in the ground and lots of seedlings in the polytunnel, and quite a few new beds as well.

I will do a much more detailed update later, I am writing this update now because we have finally managed to get some livestock - about 10,000 of them.

Yes, we are now keeping bees!

Angela and Diane about to inspect the hive

My wife Angela has been very interested in keeping bees from the first day we arrived on the allotment and discovered that there was one area set aside for an Apiary.

Towards the middle of last year we purchased a hive and other necessary bits from Ebay but were unable to get a swarm, despite us leaving the empty hive at my local church which had several bee colonies living in the walls.

This year we decided that trying to catch a swarm was too random an event, so I contacted a local beekeeper who sells bees to get us on her list for a nuc (a nucleus of bees including a queen, some frames of brood and stores of food)

Two weeks ago Diane, a friend who already has bees at the allotment, offered us a some bees as she had no room for them herself.

We weren't able to get down to the plot so she put them into our hive for us, but unfortunately they decided not to stay and left later the same day.

Last weekend started off as usual with me on the plot early on Saturday and all seemed normal until I strolled over to have a chat with a newly arrived plot neighbour.

As I got to him, Jimmy said 'I think we may have a bee problem' and pointed over towards Diane's shed where I could see loads of bees circling around.

I went to have a look, and could see loads of bees being very interested in a bait box (small empty box used to encourage swarms to take up residence) that Diane had left out balances on top of her compost heap.  It was a wild swarm that had decided that her box was where they wanted to be!

The bait box


I gave Diane a quick call, and as she lives next to the allotment she was soon on to watch the spectacle.  Within five minutes all the bees had gone inside the box, and she offered the swarm to us.

I eagerly accepted, and we agreed that we would return towards dusk to transfer the bees to our hive as we felt that the previous swarm had been transferred too early in the day which had given them enough time to re-swarm before night time.

We hadn't been home for long when Diane called me to say that she had just caught another swarm which was larger, and would I like that one instead?  Her brother in law had come down to see the first swarm, and on his way home had walked past a lot of bees in a nearby alleyway which Diane had also managed to catch in a large cardboard box


Wild Swarm
Wild Swarm

At 8pm on Saturday Angela and Diane, suitably dressed in beekeeping smocks and veils, emptied the box of bees into our hive.  All went well, and we watched the last of the bees join the queen inside as the sun went down.
Our hive at the back with bees in the blue parcel


Opening the package


The next morning was warm and sunny, and we went down to the allotment to check on the bees around 9.30am before we went out for the morning.

There was no sign of activity as we approached the hive, but as we got closer there was a definite loud buzzing sound coming from within, so we went away happy.
Tipping them in
The happiness was not to last, however,  as we had a text from Diane at about 12.30pm to say that the bees had swarmed again and we had an empty hive once more.

Later that afternoon we were sitting in our front garden with our grandson when I started to hear some loud buzzing, which I though was coming from a 40' sycamore at the bottom of the garden, but Angela pointed out what looked like a drifting cloud of smoke coming up the road towards us.

Unbelievably, it was another swarm!

Some needed a little encouragement to leave the box!

It flew right over our heads and eventually settled about 11' up in a neighbour's conifer hedge, two houses away.

Even though I had never done it before, I decided that I was going to catch this swarm myself.

After getting some advice from Diane I armed myself with a rickety pair of small steps, a pair of loppers, a cardboard box and an old shower curtain.
Finally in their new home
I put on Angela's bee smock and veil, placed the shower curtain on the ground under the hive, put the box on top and climbed the steps.  Now, these steps were only 3' high, I am 6' and so the bees were still 2-3' above my head, so I reached in with the loppers and blindly started to cut the branches that the swarm were sitting on.

The first small branch fell and missed the box completely so I jumped down and scooped up the bees and put them in the box.
Stragglers entering the hive

The second branch that I managed to cut was much larger, with loads more bees on it but unfortunately the additional weight caused it to swivel as it fell, and it landed straight on top of my head.

For a second or two my veil was completely covered in bees, but I carefully climbed down and brushed most of them off and into the box.

By this point there were quite a lot of bees flying around, so I moved a few feet away to watch to see if there was any indication that I had got the queen in the box already.
Note the bees in the entrance fanning to send the 'this is home'  pheromone to bring in the last few still outside

If I had caught the queen the rest of the bees would follow her scent and also join her in the box.

It took a couple more attempts up those rickety ladders before she was finally in the box, but about an hour after the first attempt almost all the bees were safely inside and I was able to secure the lid closed with some tape, wrap the box in the shower curtain to catch some of the bees that hadn't gone inside and move the whole thing into the shade to let them settle.

At 8pm on Sunday Angela and Diane repeated the process of tipping the swarm from the box into the empty hive, but this time we decided to trap the queen inside for a couple of days to prevent them from re-swarming again.  This was done by putting the queen excluder on the bottom of the hive - this allows the workers to pass through but not the larger queen.
The third swarm entering the box

This swarm was the largest of the three we had tried to house, and the bees were a very light brown and yellow which probably means that they are descended from and Italian strain of bees.

 
Securing the hive
To make sure that the bees had enough supplies to get them properly started off we decided to give them a feed of sugar syrup, so after they had had a couple of days to get used to their new hive we added a feeder to the box.

Feeder in place

The feeder we used is like a plastic dougnnut with a small central hole to allow the bees to enter the feeder, but with a cup covering the hole to stop them entering the super that the feeder is housed in.


I mixed 1kg of sugar with 1 liter of warm water and poured it into a plastic feeder

Lid removed so you can see the bees feeding


On Thursday night we decided that we now needed to remove the queen excluder from the base of the hive. 

Feeder removed
Although this will allow the queen to leave the hive and possibly take all the bees with her in a swarm, it is important to do just in case we have a virgin, unmated queen because if she does not fly to mate before she is 41 days old she never will. 

Excluder out

This would be disastrous as she would then not be able to lay any eggs and the hive would slowly die out.

Replacing the feeder
 We were anticipating the worst case scenario in that there would be loads of bees sat on the excluder, but in the end there were only a couple, and by placing the excluder in front of the entrance they soon climbed back in.

The stragglers going home
We also took the opportunity to slide out the baseboard which sits under the mesh floor and give it a basic inspection,  There were a small number of dead bees who must have tried to enter the hive the wrong way, but there was also a large amount of small wax scales which shows that the worker bees are hard at work in building up the comb inside the hive.

Wax scales on the baseboard